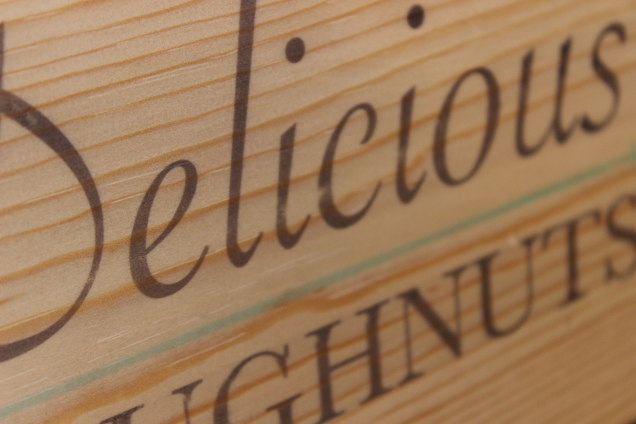
You might not know this, but the inkjet printer sitting around your house still has a few tricks up its paper tray. It can print on wood – well, sort of.
In planning for my daughter’s first birthday party, I attempted to track down a vintage sign related doughnuts (it was a doughnut-themed party). Rather than spend a bunch of money on Etsy, I thought, “Why not just make this sign myself?” The only problem was that trying to paint anything by hand would look not so great, so I took to Google to find a way to transfer a digital design from my computer to a piece of wood. It turns out that trusty wax paper sitting in your kitchen drawer makes this all possible. Let’s get to it.
What You’ll Need
For this project you’ll need the following:
- unfinished, untreated, sanded wood. I recommend a lighter wood like pine to help your design show through
- disposable paint brushes
- 400 grit sandpaper
- some type of finish to seal and protect your wood. I really like Poly Whey Furniture Finish
- wax paper
- an inkjet printer
- a tabletop paper cutter
Step 1: Prep Your Wood
I used some common board made of pine for my sign. You can use whatever wood you like, but just remember that the tone of the wood will show through any design you transfer. For instance, if you use a darker wood like mahogany, light colors like yellow will have a hard time standing out. If you’re using a very detailed or colorful design, stick to a light wood like pine. Once you’ve selected your wood, give it a good sanding with 400-grit sandpaper. This will help your design transfer evenly and smoothly.
Step 2: Create Your Design
Using Word, Pages, PowerPoint, or even Photoshop (if you’re a pro like that), make your design. The key here is using some program with a virtual ruler so that you can appropriately size your design to the size of your wood.

As you’re channeling your inner graphic designer, print out your creation and cut it to size to see how if fits on your wood.

Step 3: Cut Wax Paper Sheets
To prepare everyday wax paper for the journey through an inkjet printer, it will need to be cut down to 8 1/2-inch by 11-inch sheets. You can do this with scissors and a ruler, but the process is much easier with a tabletop paper cutter. After being cut, the wax paper will naturally curl up since its been rolled up in its retail packaging. You’ll want the paper to be nice and flat for printing to avoid nasty paper jams. To do that, I placed my wax paper sheets in a folder and placed a heavy book on top of the folder. 24 hours of flattening should do the trick.

Step 4: Print (Backwards)
Before you hit the “Print” button in your design software, you’ll want to make sure you print the design backwards – especially if it has text. Every printer is different, so search through the print settings to flip the design horizontally. The design will be backwards when it comes out of the printer, but when you transfer it to the wood, it will be correctly oriented. You may also want to take extra care handling the wax paper with your printer. As you can imagine, the paper is very delicate, and you might run into a few (wax) paper jams. Be careful. Be patient. And make sure you have a few spare sheets.

Step 5: Transfer (Very Carefully)
After the wax paper has been printed on, it’s essentially a big, floppy stamp. Carefully align the design on top of the wood and try anchoring the paper at one point with a finger – just avoid having the paper shift across the wood otherwise you’ll get a ghosting effect. Then, using a plastic card (like a credit card, gift card, drivers license, etc.), swipe across the wax paper with lots of firm pressure to transfer the design evenly onto the wood. Once the design has transferred, peel off the wax paper and voila!

Step 6: Seal It!
For the finish, I use a clear semi-gloss Poly Whey Furniture Finish from Vermont Natural Coatings. This is a really easy-to-use finish with low odor, quick dry time, and it feels great to the touch. I can’t recommend it highly enough, and you have it shipped right to you from Amazon. When applying the finish on top of design, be careful to use very light coats as to not smear the ink on the wood.
Here are just a few projects where I’ve used this technique


